Companion planting is a powerful and sustainable gardening method that pairs mutually beneficial plants together. When growing okra (Abelmoschus esculentus), pairing it with the right companions can increase yield, improve soil health, and reduce pests—without chemicals.
In this article, we’ll dive deep into the best and worst okra companion plants, while also giving you detailed growth requirements for each plant, ensuring you’re fully prepared to build a thriving garden.
🌿 Other Names for Okra
| Name | Language/Region |
|---|---|
| Ladies’ Finger | Common in British English-speaking countries (India, UK, Africa) |
| Gumbo | Southern United States, especially in Cajun and Creole cuisine |
| Bhindi | Hindi, Urdu, Punjabi (India, Pakistan) |
| Bamia | Arabic-speaking countries |
| Quiabo | Portuguese (Brazil, Portugal) |
| Gumbo | French (also used in Louisiana Creole) |
| Okro | West Africa (e.g., Ghana, Nigeria) |
| Bamya | Turkish and Balkan countries |
| Kacang Bendi | Malay (Malaysia, Indonesia) |
| Vendakkai | Tamil (South India) |
| Vendakka | Malayalam (Kerala, India) |
| Bhendi | Marathi (Maharashtra, India) |
| Dherosh | Bengali (West Bengal, Bangladesh) |
| Okura | Japanese |
These alternative names reflect okra’s widespread cultivation and culinary importance across Asia, Africa, the Middle East, and the Americas.
🔍 Okra: Growth Requirements at a Glance
-
Scientific Name: Abelmoschus esculentus
-
Sun Exposure: Full Sun (6–8+ hours daily)
-
Soil pH: 6.0–6.8 (slightly acidic to neutral)
-
Soil Type: Loamy, well-draining, organically rich
-
Water Requirement: Moderate (1 inch/week)
-
Ideal Temperature: 75°F to 95°F (24°C to 35°C)
-
Full Grown Time: 50–65 days from transplanting
Okra is a heat-loving plant that requires consistent sunlight and warm temperatures to thrive. It performs best in well-aerated soil with good drainage and steady moisture.
✅ Best Companion Plants for Okra (With Growth Requirements)
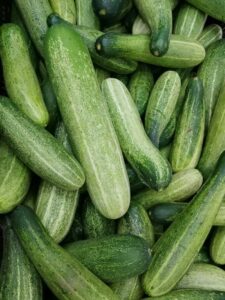
1. Cucumber
-
Scientific Name: Cucumis sativus
-
Sun Exposure: Full Sun
-
Soil pH: 6.0–7.0
-
Soil Type: Well-drained, sandy loam
-
Water Requirement: High
-
Ideal Temperature: 70°F to 90°F (21°C to 32°C)
-
Full Grown Time: 50–70 days
Why It Works: Cucumbers benefit from the same heat and sun exposure. Their sprawling vines act as ground cover, reducing weeds and conserving soil moisture.
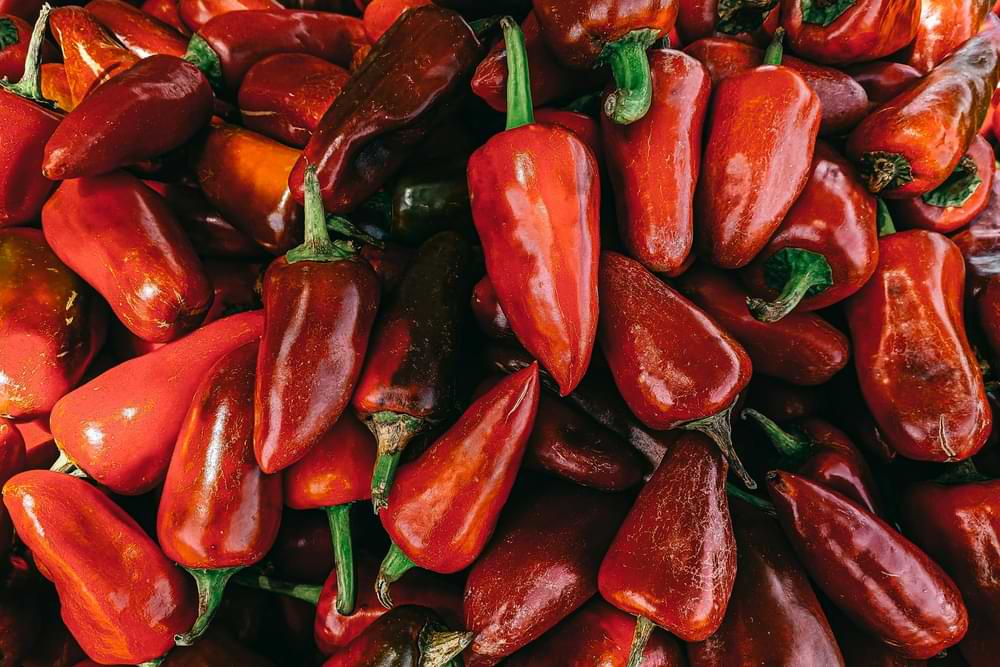
2. Sweet or Hot Peppers
-
Scientific Name: Capsicum annuum
-
Sun Exposure: Full Sun
-
Soil pH: 6.0–6.8
-
Soil Type: Loamy, well-drained
-
Water Requirement: Moderate
-
Ideal Temperature: 70°F to 85°F (21°C to 29°C)
-
Full Grown Time: 60–90 days
Why It Works: Peppers attract pollinators and repel some pests. They enjoy similar environmental needs, making them ideal okra neighbors.
3. Basil

-
Scientific Name: Ocimum basilicum
-
Sun Exposure: Full Sun
-
Soil pH: 6.0–7.0
-
Soil Type: Moist, well-draining
-
Water Requirement: Moderate
-
Ideal Temperature: 70°F to 90°F (21°C to 32°C)
-
Full Grown Time: 60–90 days
Why It Works: Basil repels aphids, thrips, and whiteflies. It also enhances the flavor of okra and attracts beneficial insects.
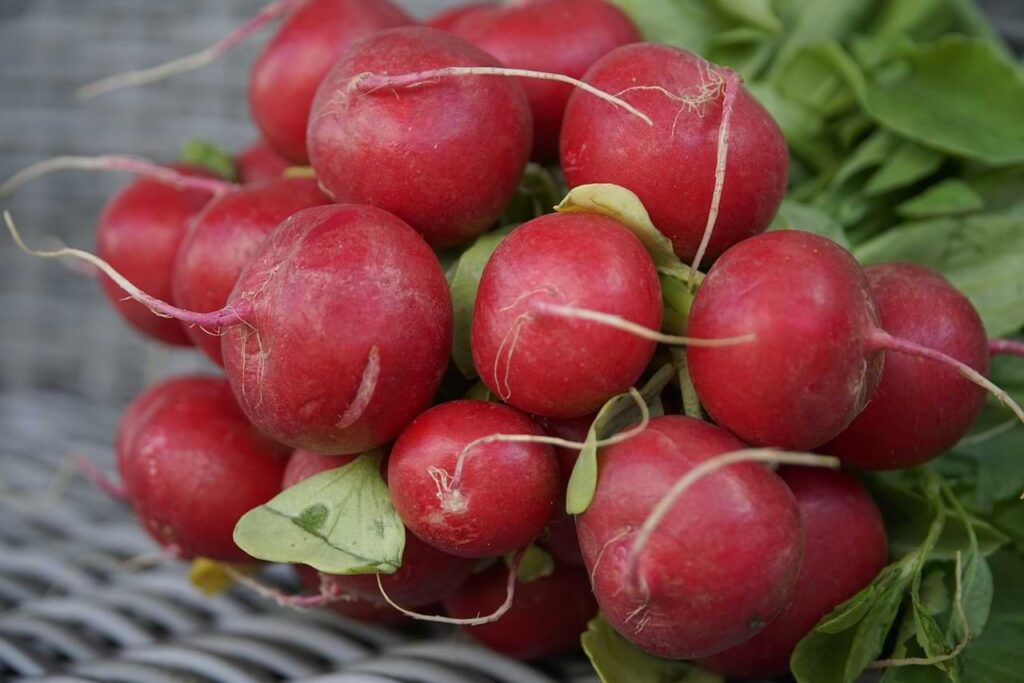
4. Radish
-
Scientific Name: Raphanus sativus
-
Sun Exposure: Full Sun to Partial Shade
-
Soil pH: 6.0–7.0
-
Soil Type: Loose, well-drained
-
Water Requirement: Moderate
-
Ideal Temperature: 50°F to 70°F (10°C to 21°C)
-
Full Grown Time: 25–30 days
Why It Works: Radishes grow quickly, aerate the soil, and act as a trap crop for flea beetles.
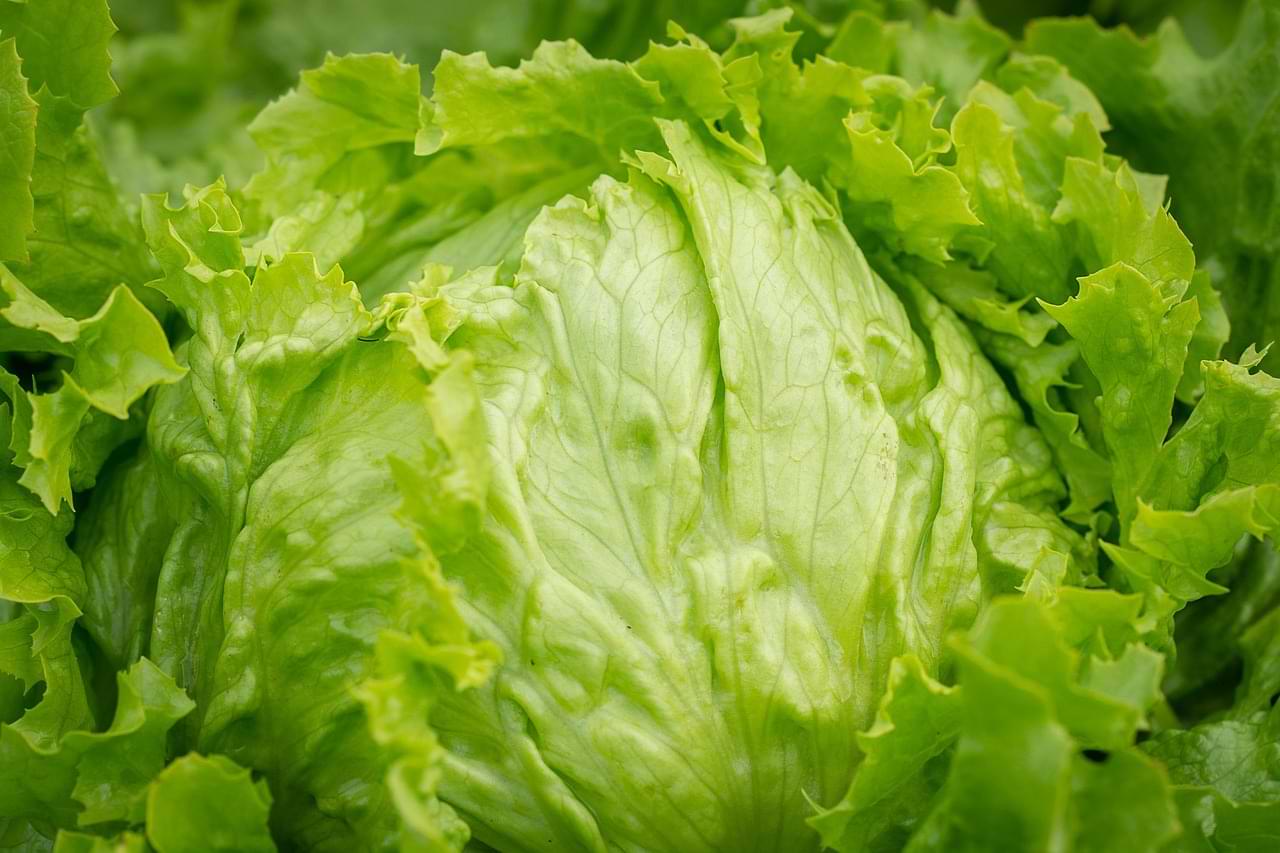
5. Lettuce
-
Scientific Name: Lactuca sativa
-
Sun Exposure: Full Sun to Partial Shade
-
Soil pH: 6.0–6.8
-
Soil Type: Loose, rich in organic matter
-
Water Requirement: Moderate to High
-
Ideal Temperature: 60°F to 70°F (15°C to 21°C)
-
Full Grown Time: 30–60 days
Why It Works: Lettuce matures quickly and can grow in the partial shade of okra during the early season.
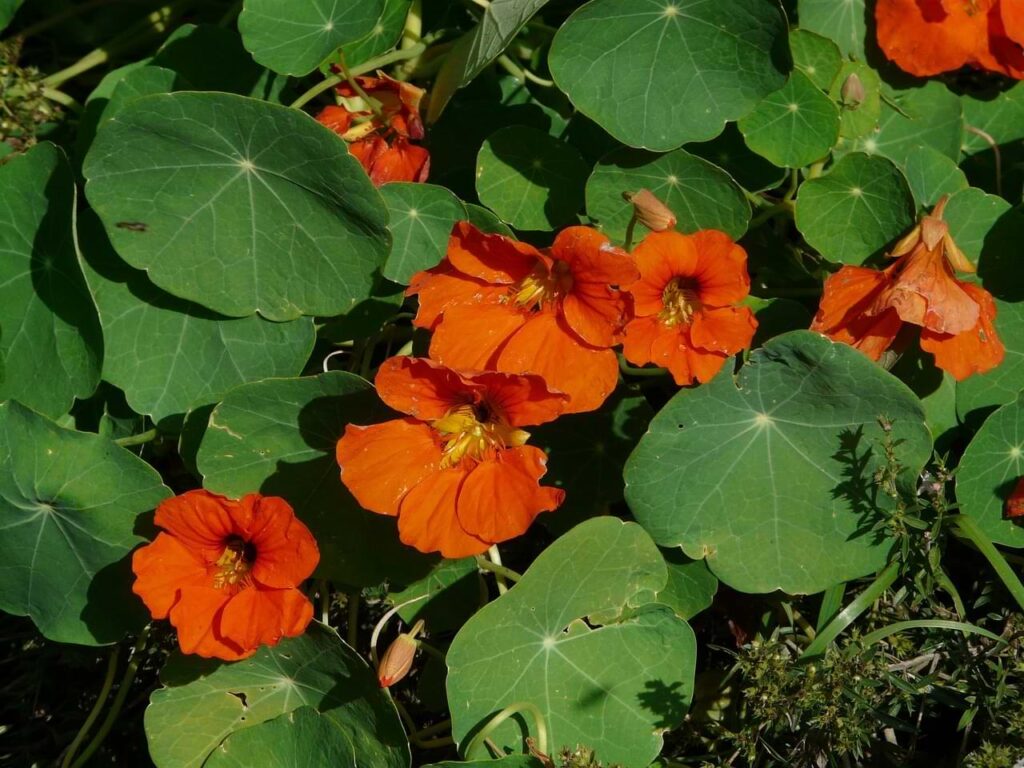
6. Nasturtium (Flower)
-
Scientific Name: Tropaeolum majus
-
Sun Exposure: Full Sun to Partial Shade
-
Soil pH: 6.1–7.8
-
Soil Type: Light, well-draining
-
Water Requirement: Low to Moderate
-
Ideal Temperature: 55°F to 70°F (13°C to 21°C)
-
Full Grown Time: 35–52 days
Why It Works: A natural pest deterrent that attracts aphids away from okra. Also attracts pollinators and adds beauty.
7. Melons

-
Scientific Name: Cucumis melo
-
Sun Exposure: Full Sun
-
Soil pH: 6.0–6.5
-
Soil Type: Sandy, well-drained
-
Water Requirement: High
-
Ideal Temperature: 70°F to 90°F (21°C to 32°C)
-
Full Grown Time: 70–100 days
Why It Works: Melons provide ground cover, which suppresses weeds and retains soil moisture without disturbing okra roots.
❌ Plants to Avoid Planting with Okra
🚫 Fennel (Foeniculum vulgare)
-
Inhibits the growth of nearby plants by releasing allelopathic chemicals.
🚫 Cabbage Family (Broccoli, Cauliflower, Kale)
-
Competes with okra for nutrients and attracts shared pests like aphids and cabbage worms.
🚫 Potatoes (Solanum tuberosum)
-
May harbor nematodes and soil diseases that harm okra.
🌞 Bonus Tips for Companion Planting with Okra
-
Rotate crops yearly to avoid soil exhaustion.
-
Intercrop with herbs and flowers to support pollinators.
-
Avoid overcrowding; okra grows tall and needs airflow.
-
Mulch around plants to retain moisture and reduce weeds.
Must Read: How to Grow Cilantro (Coriander) at Home
🌟 Fun & Fascinating Okra Trivia
1. 🧬 Okra Is a Member of the Mallow Family
Okra (Abelmoschus esculentus) belongs to the Malvaceae family, which also includes hibiscus and cotton! That’s why okra flowers are so ornamental—they closely resemble hibiscus blooms.
2. 🌍 Okra Has African Origins
Although widely cultivated in India and the United States, okra is believed to have originated in Ethiopia and was later spread to the Middle East, India, and the Americas through trade and migration.
3. 🧪 It Produces Natural Mucilage
What “slimy” texture is okra known for? It’s due to mucilage, a gel-like substance that’s rich in soluble fiber—great for digestion and used to thicken soups like gumbo.
4. 🚀 Okra Was Studied for Space Farming
NASA has studied okra as a potential food crop for astronauts due to its high nutritional value, quick growth cycle, and adaptability in controlled environments.
5. 🍃 All Parts of the Plant Are Useful
-
Pods: Eaten fresh, cooked, or pickled.
-
Leaves: Can be used like spinach.
-
Seeds: Dried and ground as a coffee substitute or pressed for okra seed oil, which is high in unsaturated fats.
-
Stems: Fiber from okra stems can be used to make ropes and paper.
Recommended: How to Grow Snake Plant from Leaf
6. 💪 A Nutritional Powerhouse
Okra is:
-
Rich in Vitamin C, K, and A
-
A good source of folate, fiber, and magnesium
-
Low in calories but high in antioxidants like quercetin and flavonoids
7. 🌿 Used in Traditional Medicine
In Ayurveda, Traditional Chinese Medicine, and African herbal practices, okra is used to treat:
-
Sore throats
-
Ulcers
-
Inflammation
-
High blood sugar
8. 🐝 Okra Flowers Attract Pollinators
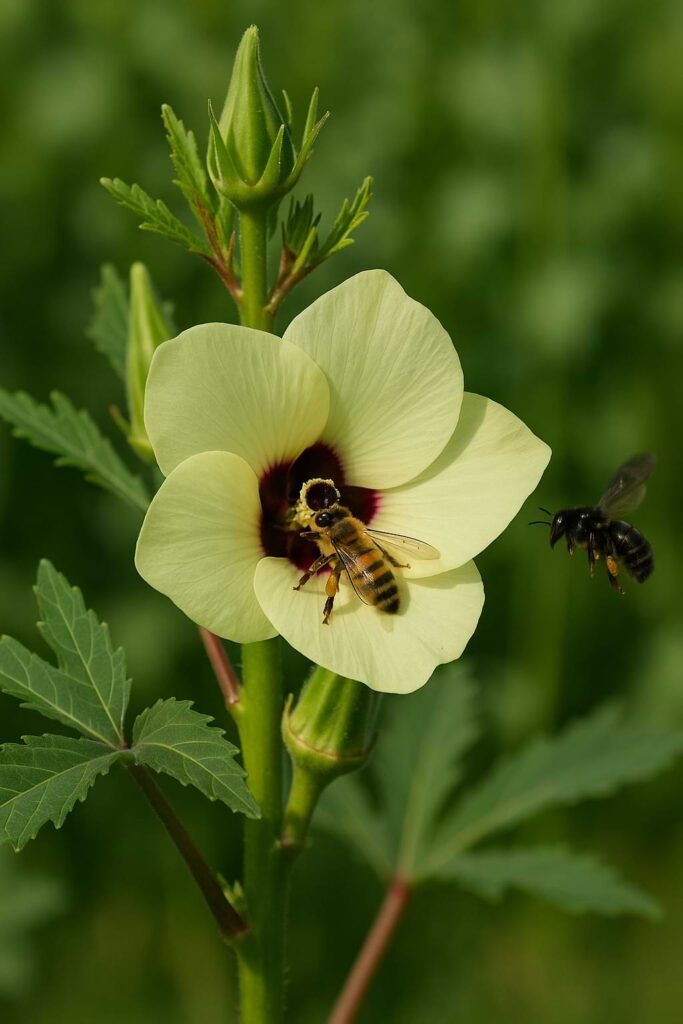
Okra’s large, creamy-yellow flowers are not just pretty—they also attract bees and butterflies, improving pollination for other garden crops.
✅ Pro Tip:
Plant okra with basil or nasturtiums to boost pollination and deter pests like aphids—a natural win-win!
Final Thoughts
Companion planting with Abelmoschus esculentus isn’t just folklore—it’s science-backed gardening. When you match okra with compatible species like basil, cucumbers, radishes, and melons, your garden becomes more productive, resilient, and sustainable.
Whether you’re a beginner or a seasoned gardener, applying these companion planting strategies will help you get healthier okra plants and higher yields—naturally.